There are a few things that will need to be configured in order to use prepaid PPA and lease options in the Solo platform. This includes:
- Adding the prepaid options in MissionControl
- Adding portal links for non-integrated finance options (Optional)
Click the links above to jump to the relevant section.
Add the Prepaid Finance Options in MissionControl
If you don't see the prepaid finance option that you'd like to add, please contact our support team.
- Navigate to the MissionControl section of your Solo platform.
- Select the company account you want to adjust.

- Open the Add New dropdown under the Finance Options section.
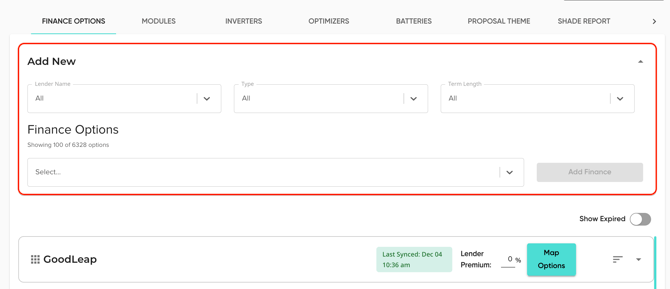
- Use the Lender Name, Type, and Term Length filters to locate the desired prepaid finance option.

- Select the prepaid finance option(s) and click Add Finance.
- Add a dealer fee for the newly added option, as required.
- Click Save Finance Changes to finalize.
⚠️ The Solo platform currently only supports cash type deals with prepaid ppas. To see how our customers are modeling financed deals with prepaid ppas, click here.
Adding portal links for non-integrated finance options (Optional)
A portal link can be added to finance options to create a hyperlink on the proposal for easy access to calculator or application URLs.
For Prepaid options you can add a calculator link so users can easily input the lease/PPA calculations for their customer.
For (non-integrated) finance options, if you're planning on using the finance workaround, portal links can be used for application URLs. This will allow your users to jump straight to the application from the proposal.
To add portal links, complete the following steps:
- Open the finance option you'd like to edit.

- In the 'Portal Link' field, paste the URL for the calculator or application.

- Click 'Update' and 'Save Finance Changes'.
