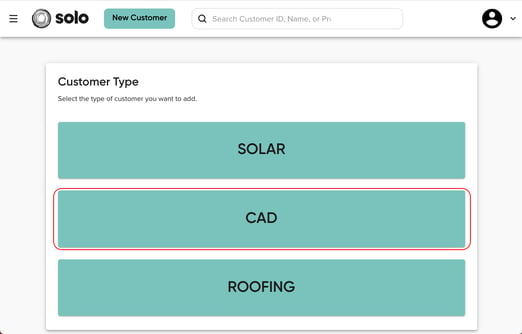
- Create a new customer either by tapping the "New Customer" button at the top of the Solo site, or, in the navigation bar under the section "Customers".
- Select the option "CAD".
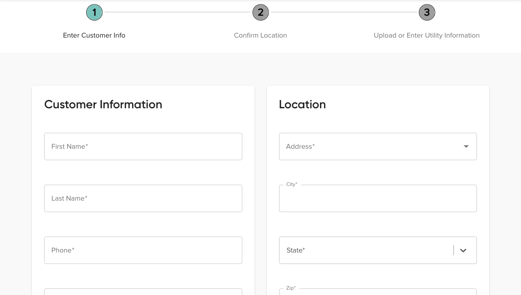
- Enter the customer's information (First name, Last name, phone number, email, and address).
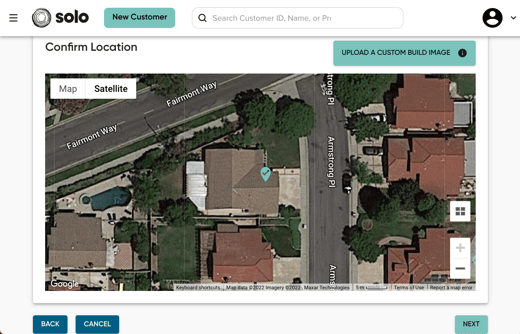
- Confirm the location and press "Next".
- Press "Submit".
- A new customer will be created in your Solo account and you will be directed to open a new CAD request.
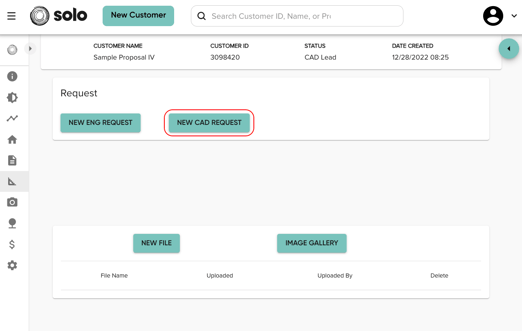
- Once you start the CAD request:
- Under the electrical tab, upload all six required photos.
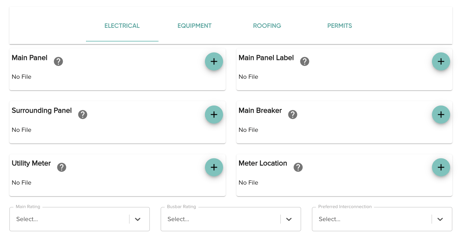
- Main Panel
- Surrounding Panel
- Utility Meter
- Main Panel Label
- Main Breaker
- Meter Location
- In the drop-down menus, select the main rating, the busbar rating, and the preferred interconnection.

- Under the equipment tab, upload the Proposal, Layout, and Site Survey Drawing.
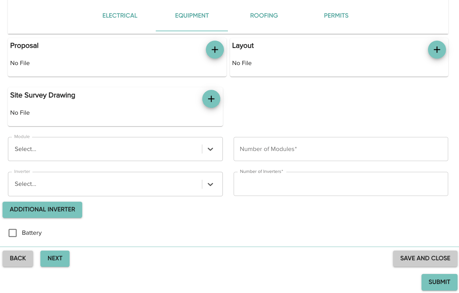
- In the drop-down menus, select the module and the inverter. Then enter the number of modules and number of inverters. If there is an additional inverter, tap the "Additional Inverter" button and select the inverter and the number of inverters.
- Under the roofing tab, add images for the overall attic, rafter depth, and rafter spacing.
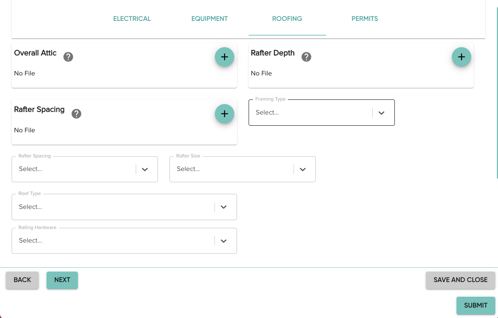
- In the drop-down menus, select:
- framing type
- rafter spacing
- rafter size
- roof type
- railing hardware
- If there is an additional roof type, tap the "Additional Roof Type" button and upload the second roof images and enter all of the roof's information.
- Under the permits tab, select the Ahj, Extra structures, and the utility company in the drop-down menus.
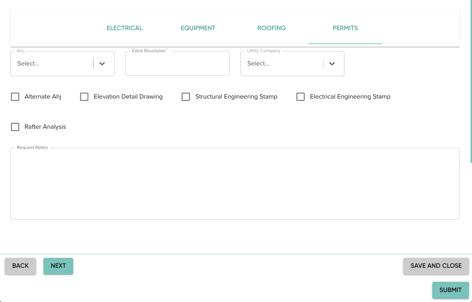
- Check off Alternate Ahj, Elevation Detail Drawing, Structural Engineering Stamp, Electrical Engineering Stamp, and Rafter Analysis if needed.
- Add any request notes.
- Under the electrical tab, upload all six required photos.
- Press the "Submit" button.
Planset Support
-
Getting Started with Solo
- Proposals
-
SoloSign
- Planset & Engineering
- Integrations
- Partnerships
-
MissionControl
- MissionControl: Pricing
- MissionControl: Adders
- MissionControl: Design Preferences
- MissionControl: Batteries
- MissionControl: Finance Options
- MissionControl: Inverters
- MissionControl: Modules
- MissionControl: Proposal Theme
- MissionControl: Optimizers
- MissionControl: Shade Report
- MissionControl: Lender Priority
- MissionControl: DXF
- MissionControl: Company Settings
- MissionControl: SoloSign
-
General Owner Settings
-
SolarNexus
- Contact Support
- Application Overview
- Update Notes
- Tips and Tricks
- Integrating SolarNexus with Other Applications
- Incentives and Finance Programs
- Documents: Templates and DocuSign
- Shared Company Resources
- Reporting
- Project Data
- Resources: Service Offerings, Pricing, & Solution
- Resources: Products and Catalogs
- Project Milestones and Workflow Management
- Account and User Management
- Managing Sold Projects
- Energy and Financial Analysis
- PV Systems, Energy Storage, and Efficiency Measure
- Manage Sales Opportunities
- Create and Manage Jobs (Projects and Work Orders)
- Misc
- User Account Maintenance
- Utility Bills
- Managing Company Catalog
- Managing Projects
- Financial Analysis
- PV System Design and Production Estimates
- Video - Webinars and Tutorials
- User Support
-
What's New