- Solo Help Center
- Getting Started with Solo
-
Getting Started with Solo
-
Proposals
-
SoloSign
-
Planset & Engineering
-
Integrations
-
Partnerships
-
MissionControl
-
General Owner Settings
-
SolarNexus
- Contact Support
- Application Overview
- Update Notes
- Tips and Tricks
- Integrating SolarNexus with Other Applications
- Incentives and Finance Programs
- Documents: Templates and DocuSign
- Shared Company Resources
- Reporting
- Project Data
- Resources: Service Offerings, Pricing, & Solution
- Resources: Products and Catalogs
- Project Milestones and Workflow Management
- Account and User Management
- Managing Sold Projects
- Energy and Financial Analysis
- PV Systems, Energy Storage, and Efficiency Measure
- Manage Sales Opportunities
- Create and Manage Jobs (Projects and Work Orders)
- Misc
- User Account Maintenance
- Utility Bills
- Managing Company Catalog
- Managing Projects
- Financial Analysis
- PV System Design and Production Estimates
- Video - Webinars and Tutorials
-
User Support
-
Release Notes
How to Add a Profile Picture
- At the top left of your Solo website, click on the carat button and select "Profile".
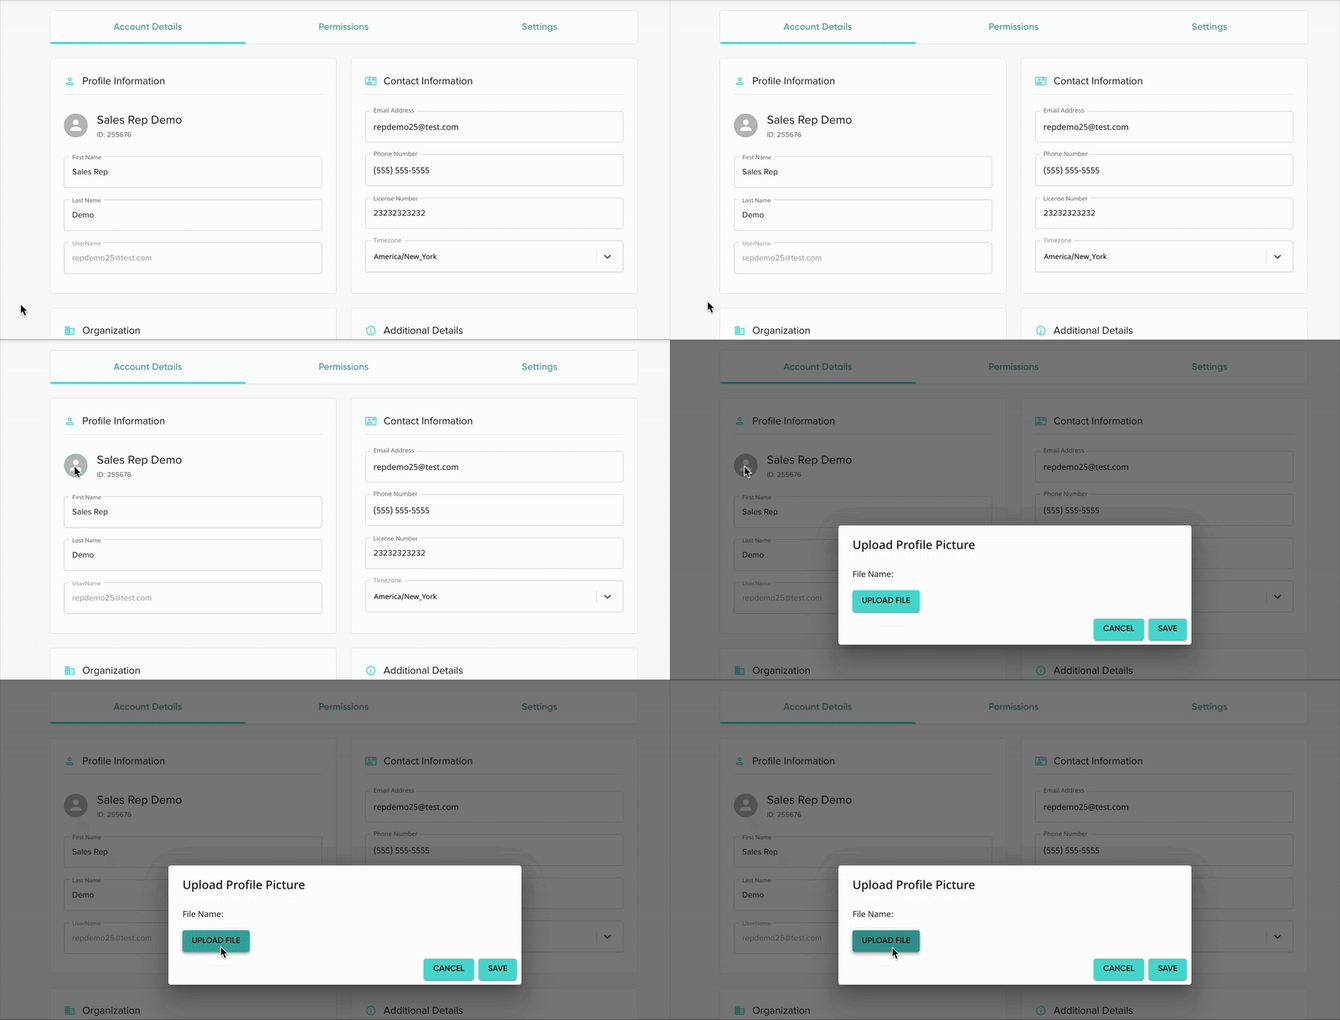
- At the bottom of the Profile page, click the "Upload Profile Picture" button.
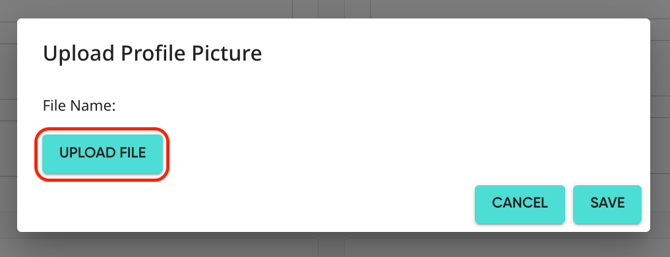
- A pop-up will appear with an "Upload File" button, once you tap on this button, it will open another pop-up allowing you to choose a photo from your local files.
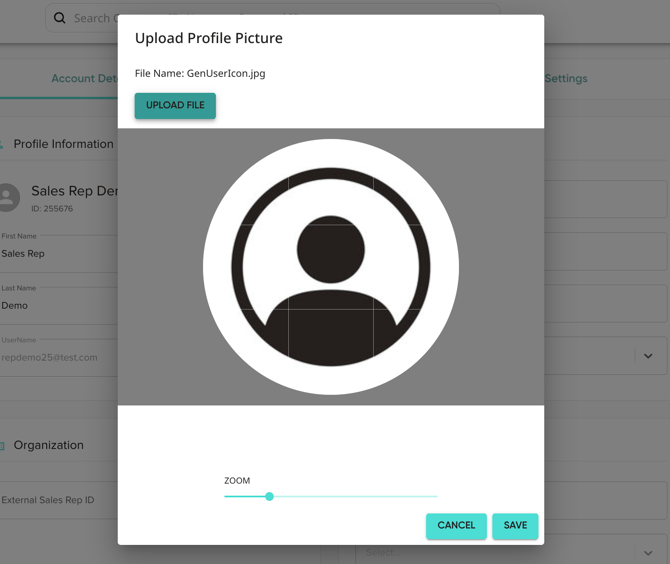
- After selecting a photo, you will be able to adjust/zoom your new profile picture. Once everything looks good, press save!
Watch How to Add a Profile Picture