Learn more about pulling one-time reports HERE.
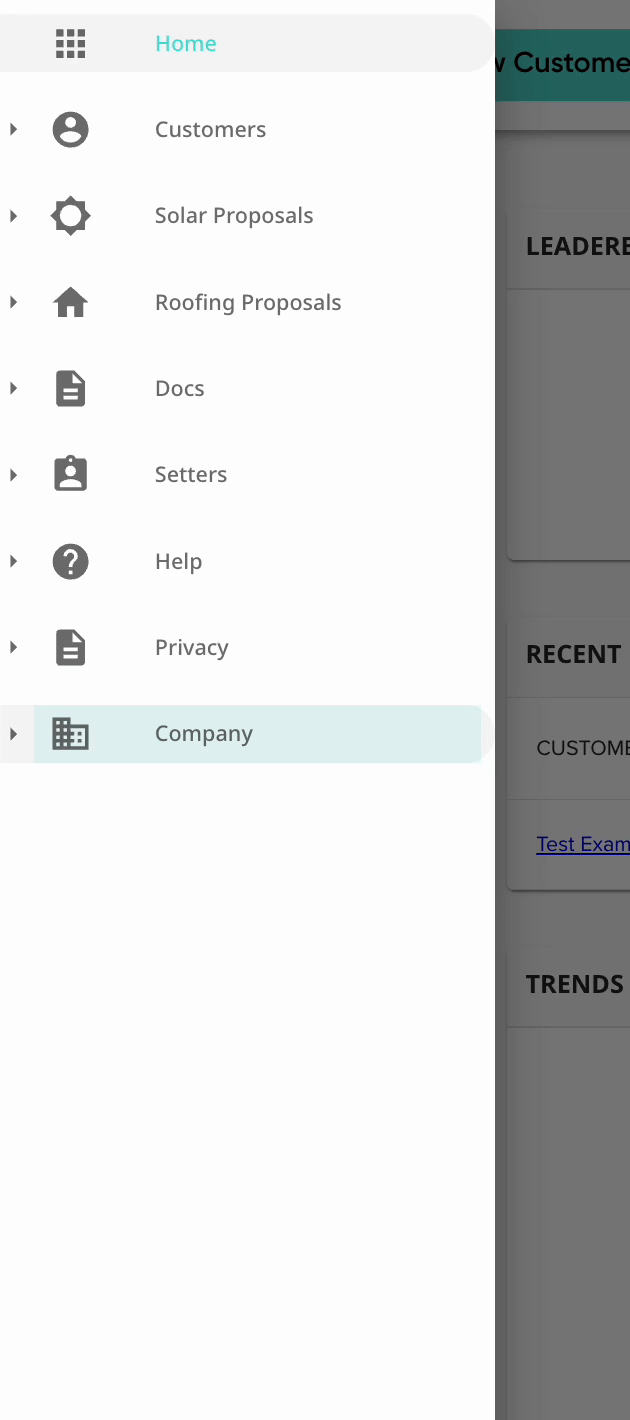
- Navigate to the left side of your Solo platform and select "Company." Then select “Scheduled Reports”.
.
- At the top, select the company you’d like the schedule report to pull for:
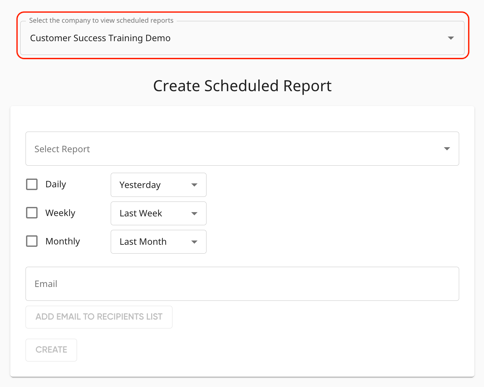
- In the “Select Report” section, choose what information you’d like to include in the scheduled report.
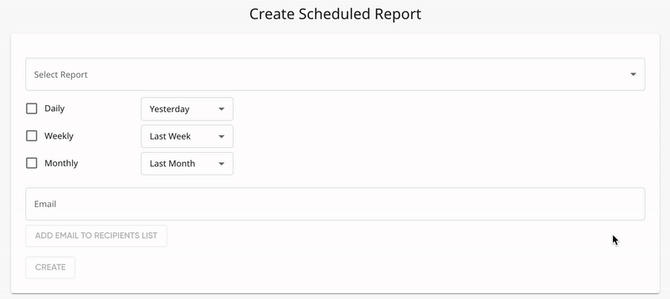
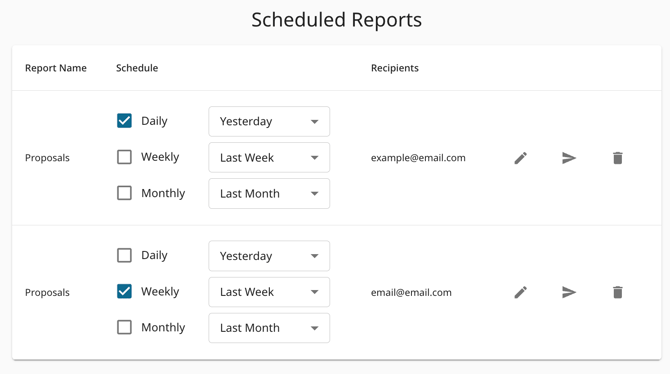
- Select the frequency at which you’d like the recipient(s) to receive the report. You are able to select more than one:

- For each frequency (weekly, daily, or monthly) select the date range you’d like the report to cover.
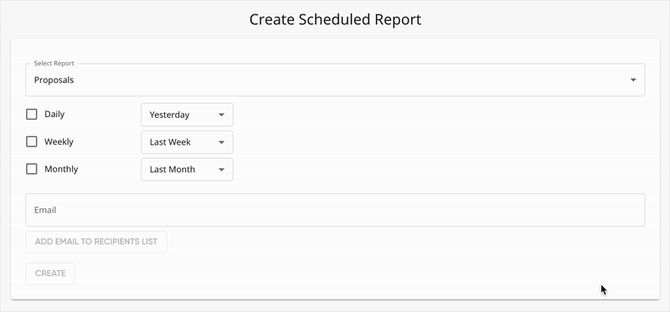
- For example, in the image below a report on the previous week’s proposals will be sent weekly.

- For example, in the image below a report on the previous week’s proposals will be sent weekly.
- Add one or more recipients for this report by typing the email address and clicking “Add Email to Recipients List” for each recipient.
- Click “Create”.
- Recipients will receive an email from scheduledreports@gosolo.io on the selected cadence.
All existing scheduled reports will be listed at the bottom, with the option to edit settings or run the report and send it now.
Watch How to Schedule Reports