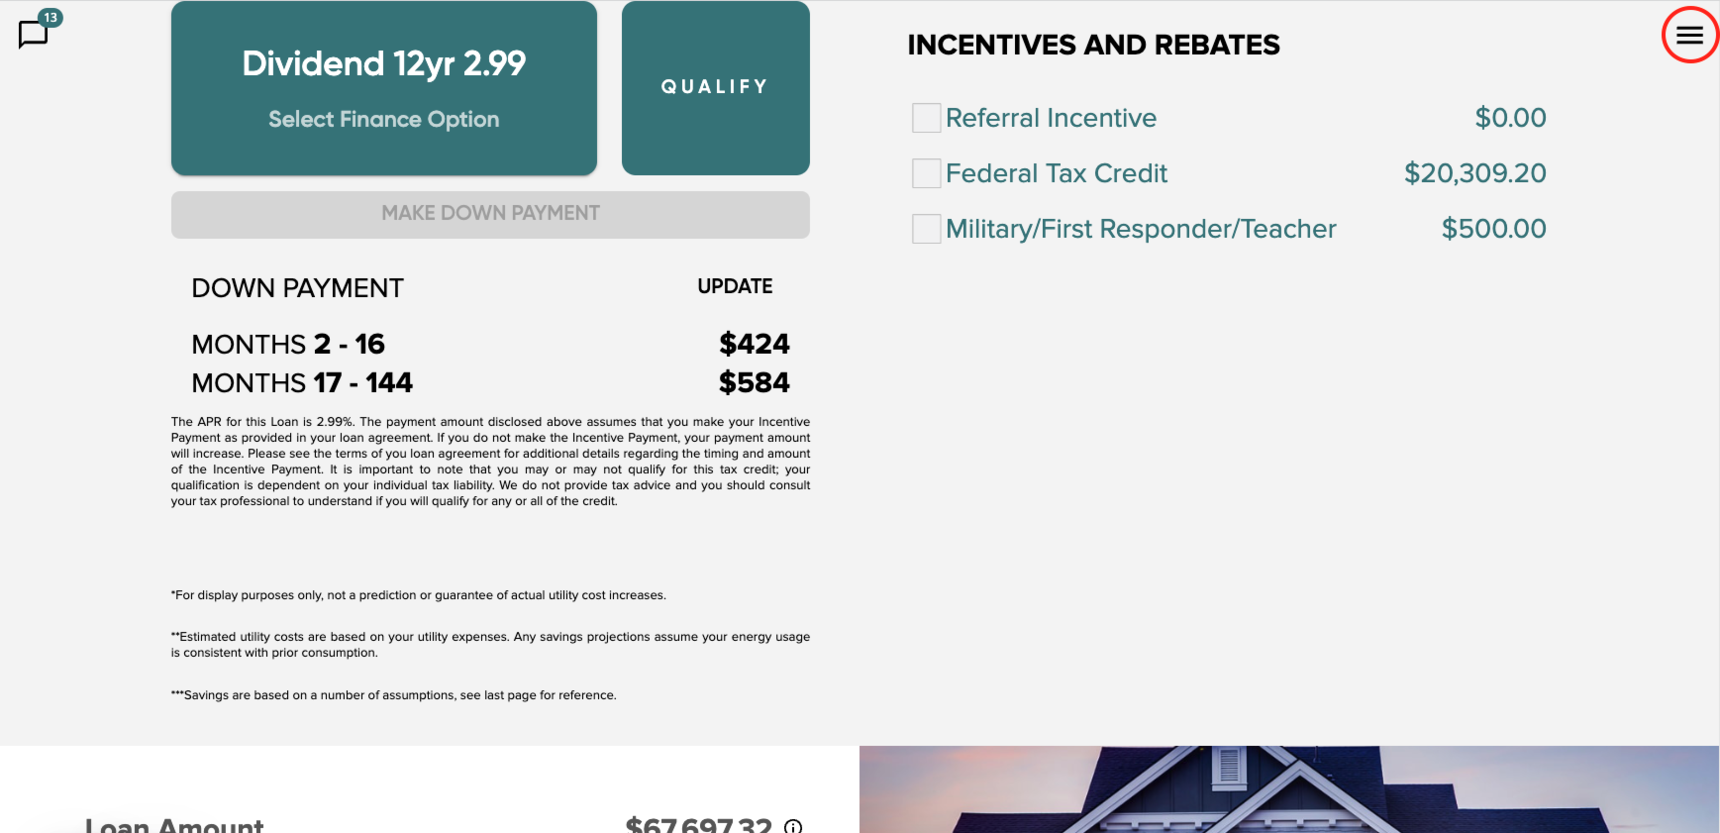
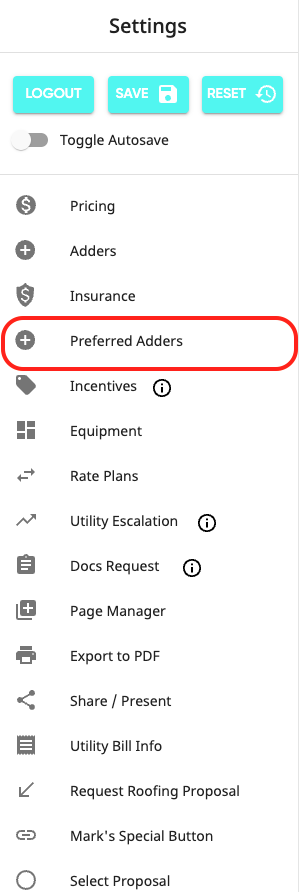
- Access the RFX adder in your sidebar menu.
- Tap into the Preferred Adders tab.
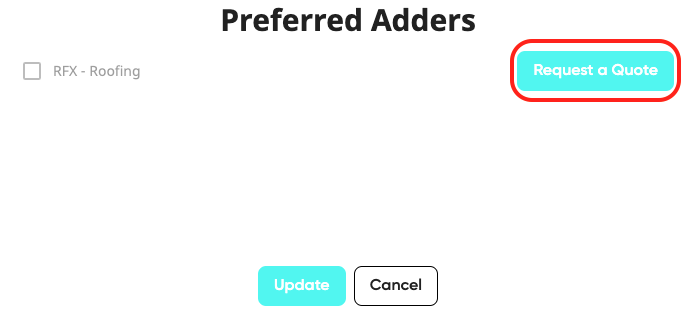
- Press the Request a Quote button.
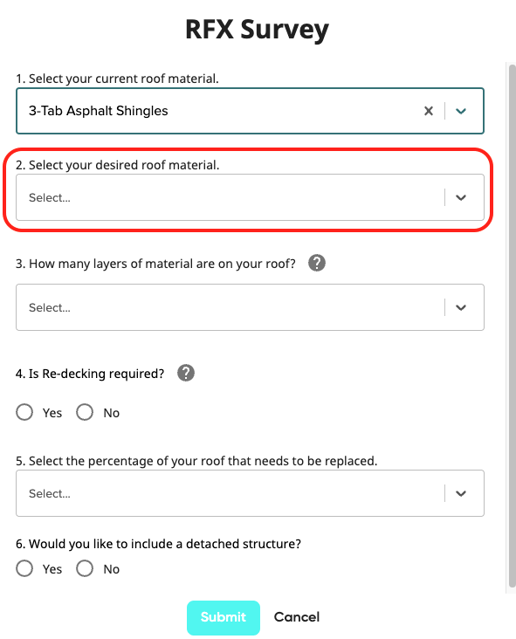
- In the drop-down. select the current roof material.
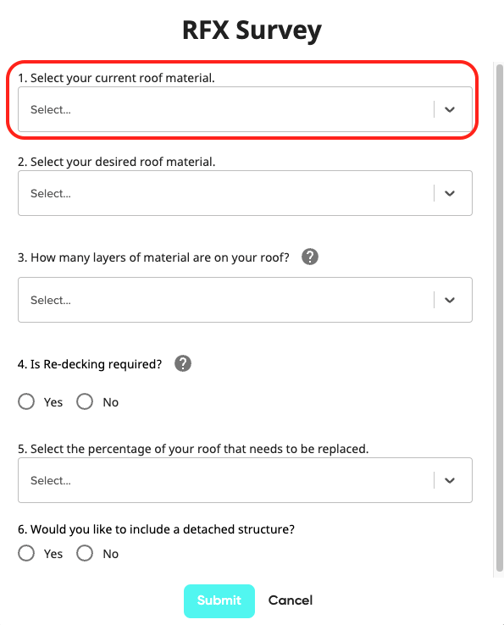
- Next, Select your desired roof material.
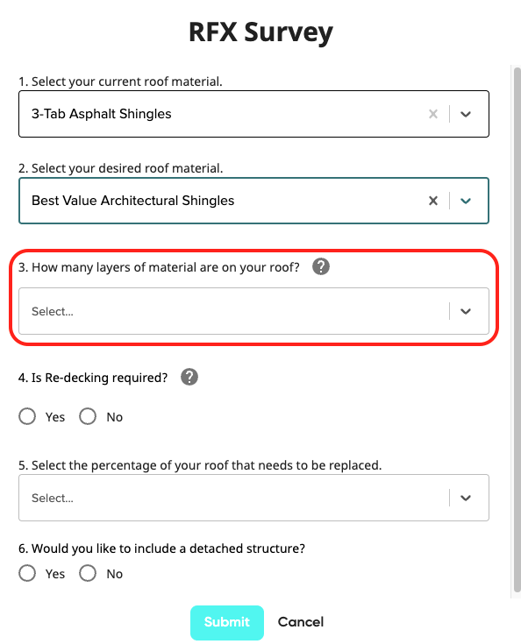
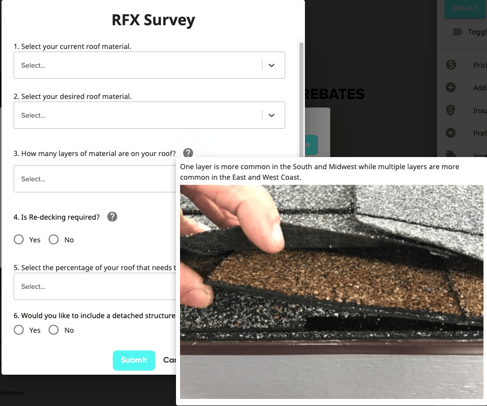
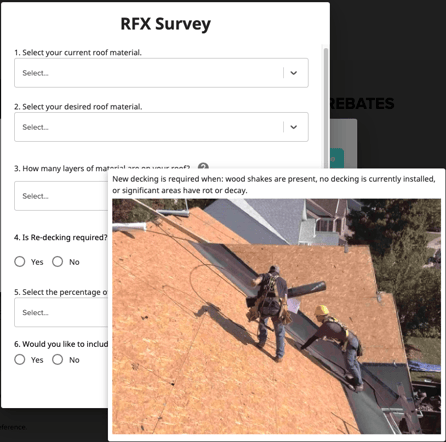
- The next field requires the number of layers of material on the roof. Hover over the Tooltip to reveal an aid of what layers will look like on a roof.
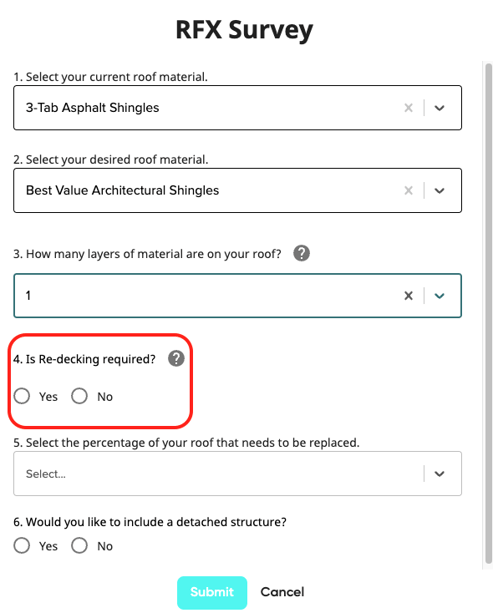
- The next field question will ask if re-decking is required. There is another tooltip you can use for visual help and a further explanation.
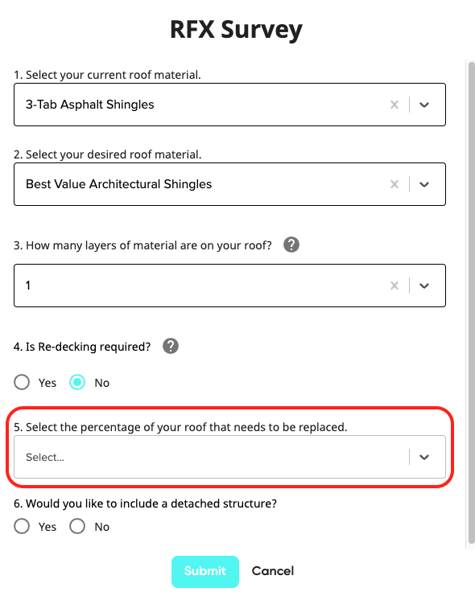
- In the drop-down, select the percentage of how much of the roof that needs to be replaced.
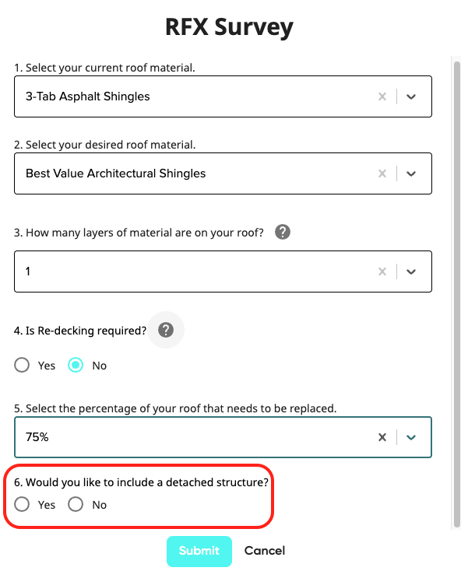
- Lastly, select if the customer is wanting to include a detached structure.
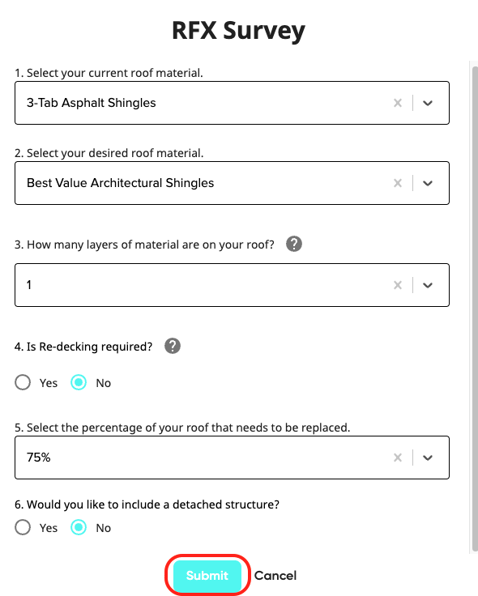
- Once all fields are filled out & complete, press Submit.
- RFX has a near-instant roof quote for the homeowner (between 2-8 seconds from the time of submit to retrieval).
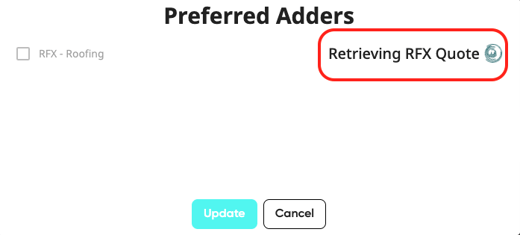
- Make sure the check box is selected!
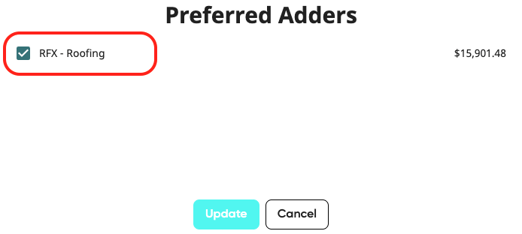
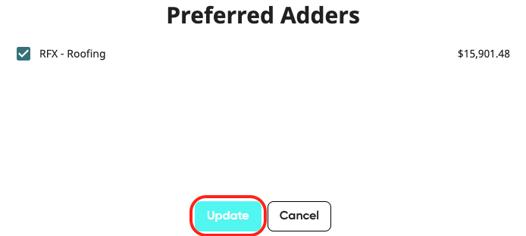
- Once the quote loads and the adder is selected press update.
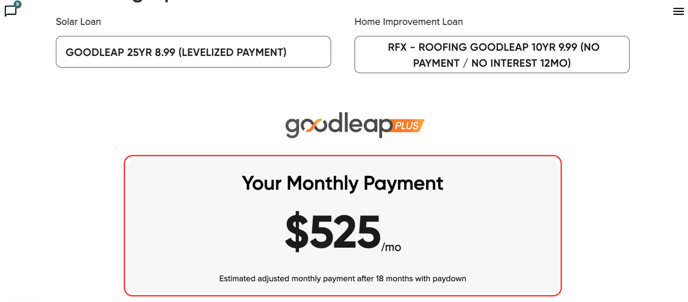
- There are two different loans that are available to homeowners. A Solar Loan and a Home Improvement Loan. Homeowners can be qualified for a loan by tapping on the Qualify button.
- To select the desired loan, tap into the bar with the current loan listed.
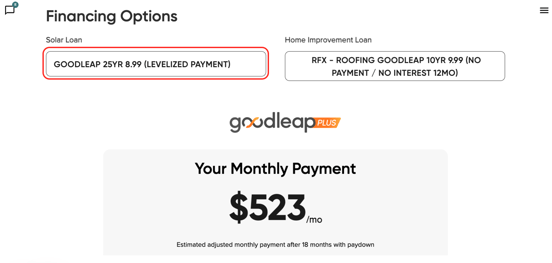
- Expand the loan options by pressing into the drop down menu.
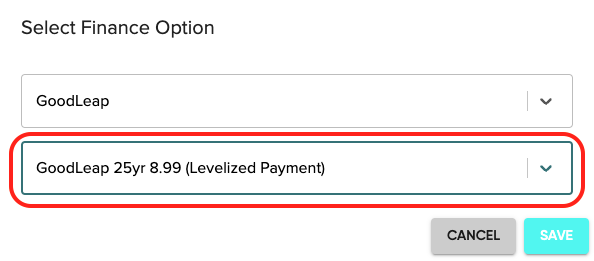
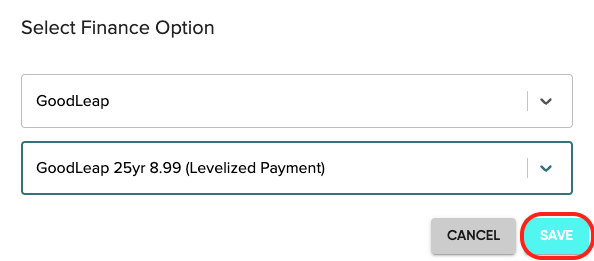
- Once the loan is selected, press save.
- Review the monthly payment. You can adjust this above if there are any applicable incentives or rebates.
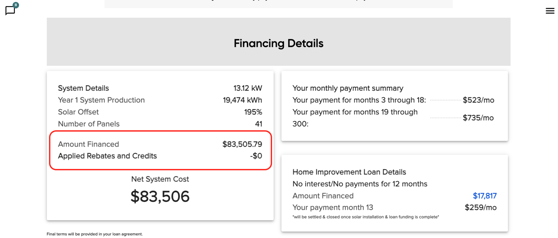
- The Amount Financed field is the total cost of the roofing and solar.
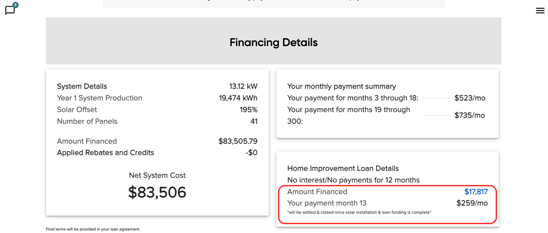
- The Home Improvement Loan Details will show the total amount of the loan.
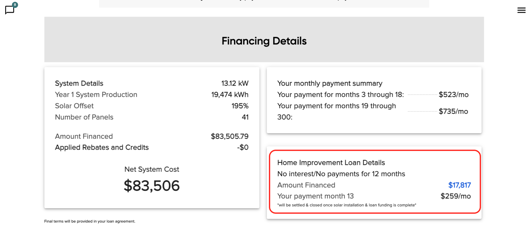
- The total amount financed listed will also be included in the Amount Financed section that was previously mentioned.
- The monthly payment listed here is for the Home Improvement loan only.
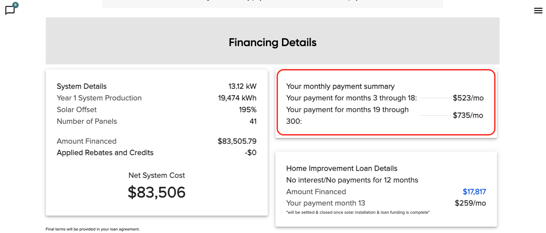
- The monthly payments for the solar loan will be listed here.
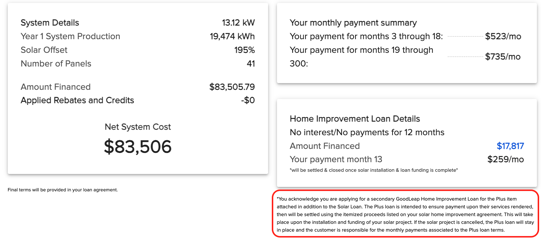
- A disclaimer will be listed that will explain how the GoodLeap loan will work.
- To enter the customer's application, press the blue qualify button.

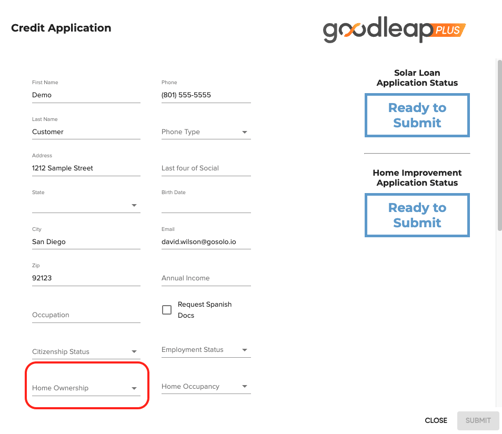
- Once you start to fill out the credit application for both a solar and home improvement loan, the only difference compared to a solar only application is the Home Ownership drop down.
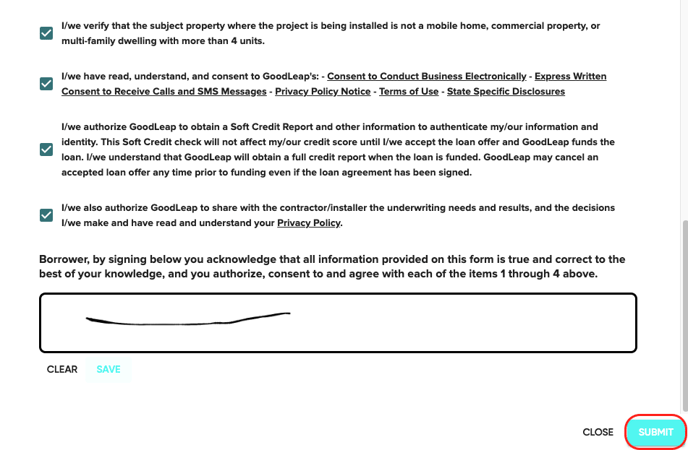
- Once all verifications, consent, and authorization checkboxes are selected & the borrower provides their signature, press submit. The credit application will be submitted and retrieved in real-time.
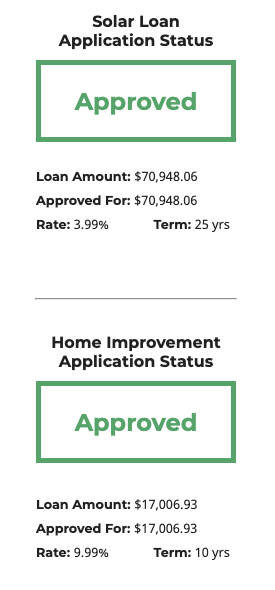
- Approved loans will show the loan amount, the approved amount, interest rate, and term.
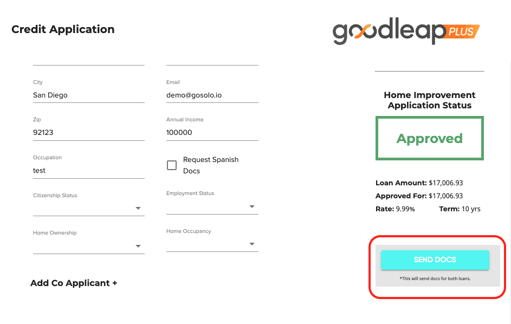
- Once approved, you will be able to request docs for both loans in two different packets. If one loan is declined, the packet will not send for the declined loan. When a homeowner signs install docs and has the RFX adder selected, we send RFX the customer information via API!
RFX
-
Getting Started with Solo
- Proposals
-
SoloSign
- Planset & Engineering
- Integrations
- Partnerships
-
MissionControl
- MissionControl: Pricing
- MissionControl: Adders
- MissionControl: Design Preferences
- MissionControl: Batteries
- MissionControl: Finance Options
- MissionControl: Inverters
- MissionControl: Modules
- MissionControl: Proposal Theme
- MissionControl: Optimizers
- MissionControl: Shade Report
- MissionControl: Lender Priority
- MissionControl: DXF
- MissionControl: Company Settings
- MissionControl: SoloSign
-
General Owner Settings
-
SolarNexus
- Contact Support
- Application Overview
- Update Notes
- Tips and Tricks
- Integrating SolarNexus with Other Applications
- Incentives and Finance Programs
- Documents: Templates and DocuSign
- Shared Company Resources
- Reporting
- Project Data
- Resources: Service Offerings, Pricing, & Solution
- Resources: Products and Catalogs
- Project Milestones and Workflow Management
- Account and User Management
- Managing Sold Projects
- Energy and Financial Analysis
- PV Systems, Energy Storage, and Efficiency Measure
- Manage Sales Opportunities
- Create and Manage Jobs (Projects and Work Orders)
- Misc
- User Account Maintenance
- Utility Bills
- Managing Company Catalog
- Managing Projects
- Financial Analysis
- PV System Design and Production Estimates
- Video - Webinars and Tutorials
- User Support
-
What's New